DIY PROJECT
DIY PROJECT : SMARTPHONE AND STATIONARY HOLDER
On 24th of October 2018, after Financial Mathematics class, we as one group gathered at Student Square KUPTMKL to discuss what should we do for our DIY project. Each of us share our opinion and ideas regarding the project that should we create. We decided to make something simple, cheap but very useful as a student life. After 30 minutes of discussion, we then decided to go to MR D.I.Y store located at Shamelin Star Residence.
PROBLEM ENCOUNTERED
- Our pen , pencils , ruler , correction tape and other stationary stuff always cluttered all over the table while studying.
- Smartphones always drop from study table and it crack.
- Study table are always a mess as it was not organize at all.
PROJECT OBJECTIVES
- Create something simple, well-organized and not to spacious to organize things properly.
- Create something nice , pleasant , neat and cute to see on the study table.
- Create a very nice mood while studying.
THINGS WE NEED
- A4 size paper ( personal)
- scissor (personal)
- ruler (personal)
- mechanical pencil (personal)
- super glue (new purchase)
- ice cream popsicle stick (new purchase)
- diy flower decoration (new purchase)
PRICE LISTING

- Super glue : RM 1.04 x 2
- Ice cream popsicle stick : RM 2.74 x 2
- D.I.Y flower decoration : RM 0.57
STEP 1 : PURCHASE THINGS WE NEED
We went to MR D.I.Y, and purchased ice cream sticks, super glue and some decoration. We managed to minimize our budget and divided the cost into six from the total. So each one of us paid RM 1.35 only.

- The item we needed for our D.I.Y project, these items cost were split into 6 for each person on our group. The items that we have bought were ice cream sticks, super glue and some decorations to top off our project.
Before we start our D.I.Y Project, we gather all the things we needed on the table such as :

- A4 paper
- Mechanical pencil
- Ruler
- Super glue
- Ice cream popsicles stick
- DIY flower decoration
- Scissors
STEP 2 : STATIONARY HOLDER
Firstly, we organized all the things that we need to use to make the stationery holder. To make it more interesting, we arranged the ice cream sticks by sequences of colours.

- Ice cream sticks ,super glue and a folded paper.
- The folded paper were cut into two.

- One part of the A4 paper is use for stationary holder and the remaining part is for the base for this DIY project.

- Next, arrange the ice cream stick by sequences of colours until the end of paper using the super glue.
STEP 3 : BASE FOR DIY PROJECT HOLDER
For the base holder, we used the same method like the stationery holder by putting the super glue on the ice cream sticks but we had to do it repeatedly because the glue dries quickly and didn't stick to the paper.
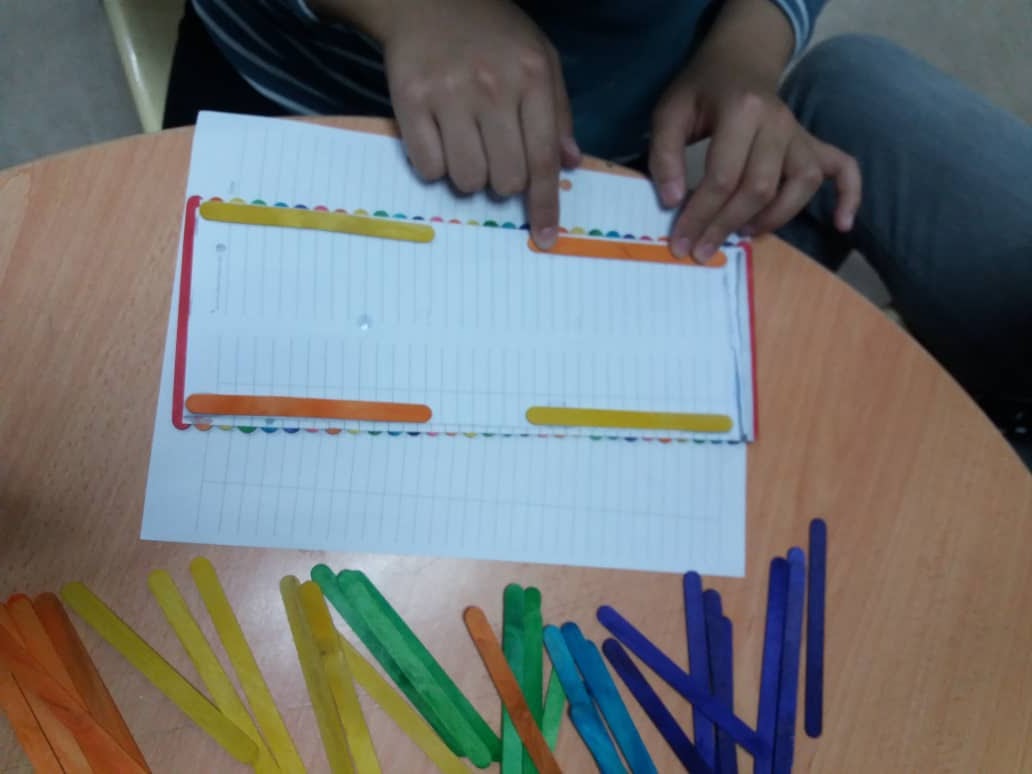
- The trick to make it stable is to stick some ice cream sticks at the bottom of the base part.
STEP 4 : SMARTPHONE HOLDER

- Next, we started making smartphone holders.
- We arranged ice cream sticks.
- Arrange one at the bottom to make it as a site.
- We put two sticks at the end of the first ice cream stick vertically.
- Repeat steps 10 times.
- In addition, we compile five sticks to strengthen the stability at the back.

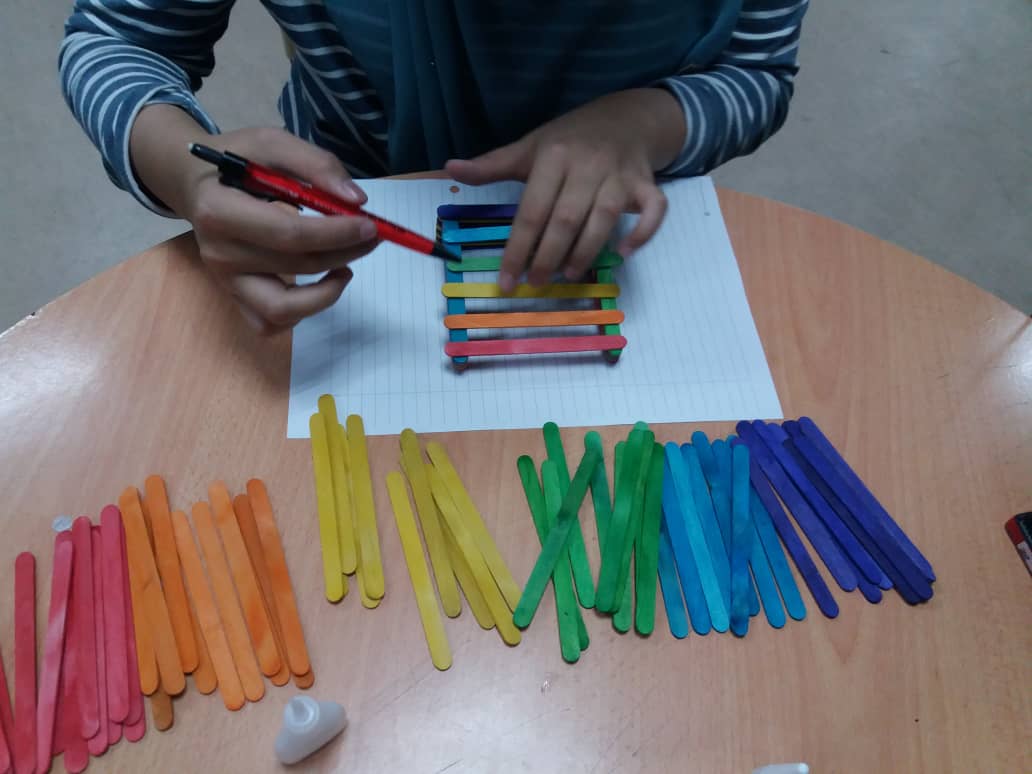
- We have to measure the distance of each ice cream stick and label it using mechanical pencil.

View from front of stationary holder
- Lastly, arrange two sticks at the front with the X-shaped in front to make it interesting.
STEP 5 : LET THE THREE MAIN PARTS DRY
- After all these three things that are stationery holders, smartphone holders and base are completely done , we put it at room temperature for three minutes to wait for the glue to dry completely.
- Proceed to the next step.

STEP 6 : SET UP STATIONARY AND SMARTPHONE HOLDER ONTO BASE

All three major parts have dried.

The stationary holder are fold into it's shape.

Put glue on each end of the stationary holder diy.

- Hold for 2 minutes to let the glue completely dry and each end attached well.

- Stationary holder was then sicked and attached onto the base using super glue around it.

- Last but not least, smartphone holder was then attached also onto the base using super glue.
- Press and hold each of it for few minutes to make sure it is completely dry and attached.
STEP 7 : DECORATE THE DIY PROJECT

- Because of the stick is already colourful, so we just need simple things to decorate it , so we use diy flower to decorate it.

Next ,adjust the flower to centre position.

After that , cut the extra string at the back so its looks neat.
STEP 8 : STRENGTH , ENDURANCE TEST AND REPAIR
After that, we try to test the durability of the smartphone and stationary holder but unfortunately that container was not strong enough so we have to repair it by putting glue on the base. Then we need to emphasize that container so it will stick firmly and we have to wait for 2 minutes.


STEP 9 : ALL DONE ! READY TO USE
After the glue dry we try to test it again and it’s working. So it ready to use.

View from front

View from back

View from top
To conclude, the D.I.Y project has been finally completed after putting in hours of works into it. The project turned out to be as exactly as what we have expected it would be. We managed to complete the project following the steps above. This project couldn't be completed without all of our team members supporting each other to make this project a successful one.

BY AA102 :
- NURUL ZAFIRAH
- ASIKIN
- AQIB
- SALMAN
- FATIN ALIA
- KHAIRUL


Comments
Post a Comment